
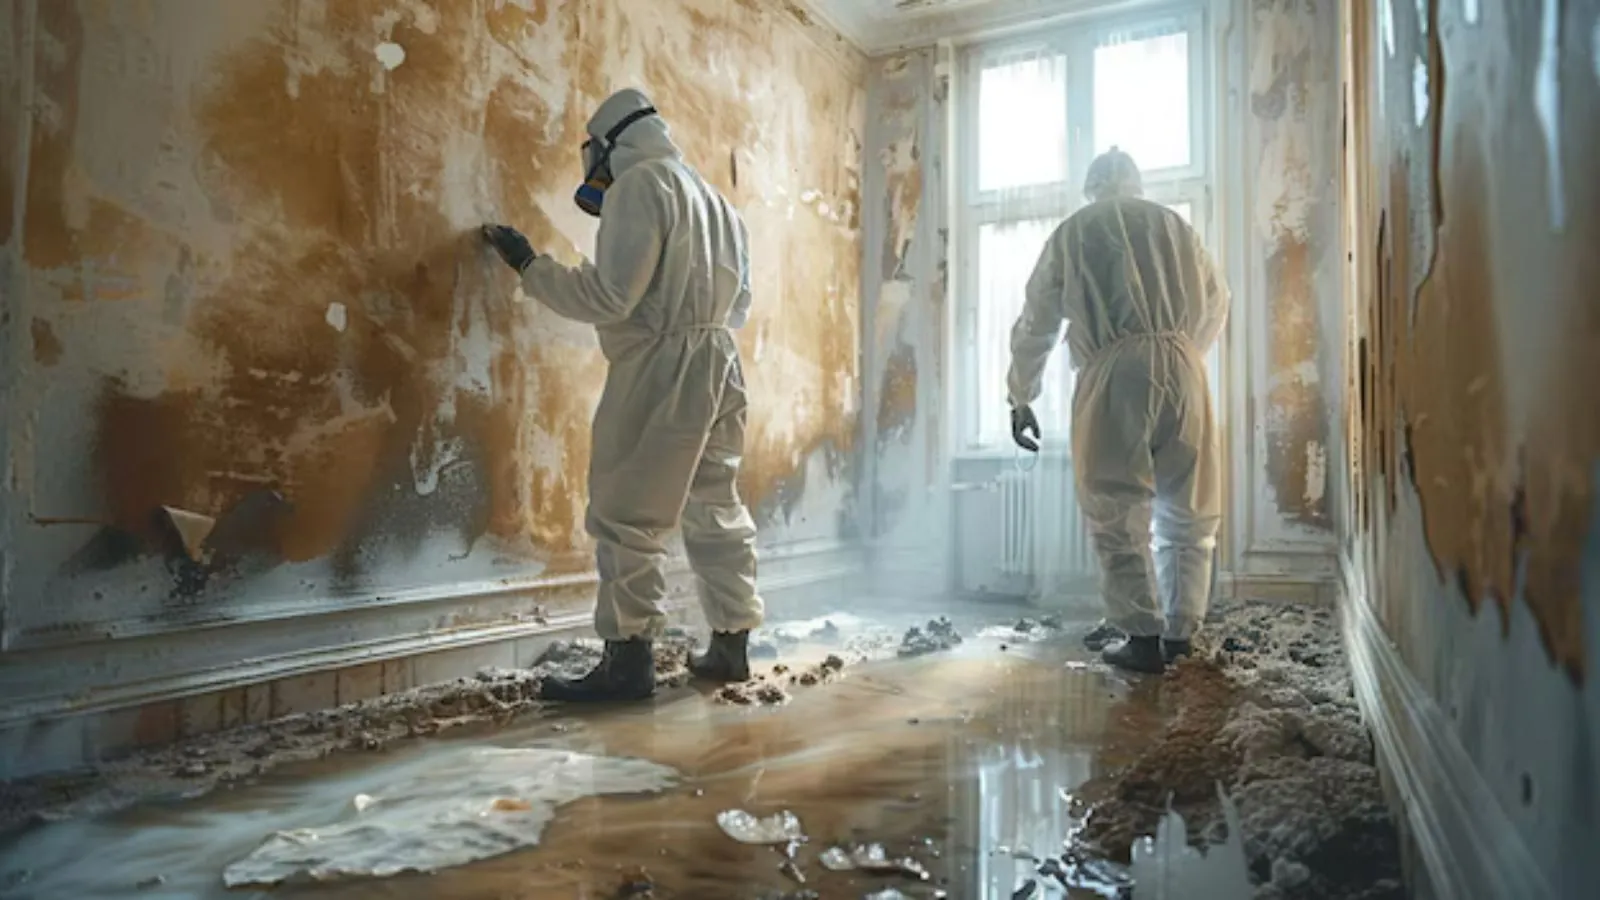
Treating mold means more than wiping a wall. A basement or any enclosed lower space needs a plan that covers moisture, containment, removal, cleaning and monitoring, in that order. Florida homes rarely have full basements, so this plan applies to any below-grade room, garage, utility space or walkout level in a Valrico home.
We do not make health claims about mold, and nothing here is medical advice. If someone in the home has health concerns, they should talk to a physician.
Step 1: Stop the water
Mold needs moisture. Before anything else, find where water is coming from. Common sources in lower spaces are plumbing leaks, condensation on cold pipes and ducts, rain that runs toward the foundation and floods.
Fixing the source may need a plumber, an HVAC technician or a drainage contractor. We handle the water removal and drying, and you will want the repair done before cleanup is finished.
Step 2: Dry the space
Drying uses dehumidifiers and air movement to bring humidity and material moisture down. The National Weather Service in Tampa Bay lists the Florida wet season as May 25 through October 10. In that window outdoor air is heavy with moisture, so a closed house with dehumidifiers dries faster than open windows.
See structural drying and dehumidification for how we measure moisture in framing and drywall.
Step 3: Contain the work area
- Close doors and cover vents so air does not carry spores to other rooms.
- Seal openings with plastic sheeting and tape.
- Use a fan exhausting outdoors to create negative pressure when appropriate.
- Cover floors and furniture you cannot remove.
- Do not run the air handler while you work.
Professionals use containment barriers and negative air machines. A homeowner can approximate the idea for small jobs, but larger areas call for expert equipment.
Step 4: Remove what cannot be cleaned
Can usually be cleaned
- Tile and glass.
- Sealed concrete.
- Metal and hard plastic.
- Structural wood with surface growth only.
Usually removed and discarded
- Carpet and padding.
- Wet insulation.
- Drywall with growth or soft spots.
- Ceiling tiles.
- Stored cardboard and paper.
Bag removed material before you carry it through the house. Wet drywall is heavy and can crumble, so wear gloves and eye protection.
Step 5: Clean and monitor
After removal, surfaces should be HEPA vacuumed and wiped with a detergent solution, then allowed to dry completely. Mold remediation industry practice follows the ANSI/IICRC S520 standard, which is a published guide and not a certification claim by this business.
HEPA vacuum
Fine particles settle on every surface, so vacuum with a HEPA filter.
Damp wipe
Wipe hard surfaces with detergent and water and dry them right away.
Verify dryness
Check materials with a moisture meter before you close walls.
Monitor humidity
Keep humidity low and look for new growth over the following weeks.
If the lower space flooded, read about basement water damage cleanup. For larger growth, mold remediation explains the containment and removal we use.
Keeping mold from returning
- Run a dehumidifier in enclosed lower spaces during humid months.
- Insulate cold pipes and ducts that sweat.
- Keep gutters and downspouts clear and directed away from the home.
- Fix leaks quickly and dry wet materials within a day or two.
- Avoid storing cardboard directly on floors.
- Check lower spaces after heavy rain.
What to document along the way
Take photos before you start, after material is removed and after the area is clean and dry. Write down humidity readings and dates. If you later sell the home or file an insurance claim, a clear record of what was found and what was done is worth more than memory.
Remember that treatment is only half the job, because the moisture that allowed growth must be corrected or the problem comes back.
According to the published ANSI/IICRC S520 standard for mold remediation, controlling moisture comes first, and that guidance is why this guide keeps returning to drying and humidity.
Local note for the wet season
The National Weather Service Tampa Bay wet season runs May 25 through October 10. That is the stretch when enclosed lower spaces in Valrico, Durant and Lithia are most likely to stay damp, so check them after heavy storms and run dehumidifiers when humidity stays high.
Mold treatment questions Valrico homeowners ask
How long does it take to treat mold?
A small area can be cleaned in a day, while a larger job with containment and drying can take several days to a week. Drying time is often the longest part.
Should I turn off the air conditioner while treating mold?
Yes, for the work area. Running the system can spread spores to other rooms. Resume normal operation after cleaning and drying.
Do I need to remove drywall or can I treat it?
Surface growth on painted drywall can sometimes be cleaned if the drywall is firm and dry. Soft, swollen or heavily affected drywall is usually removed.
Why did mold come back after I cleaned it?
Usually the moisture source was not fixed or the material was not fully dry. Find the source and dry the area with meters.
Does the wet season really change the plan?
Yes. High outdoor humidity slows drying, so closed spaces with dehumidifiers work better than open windows from late May through early October.